
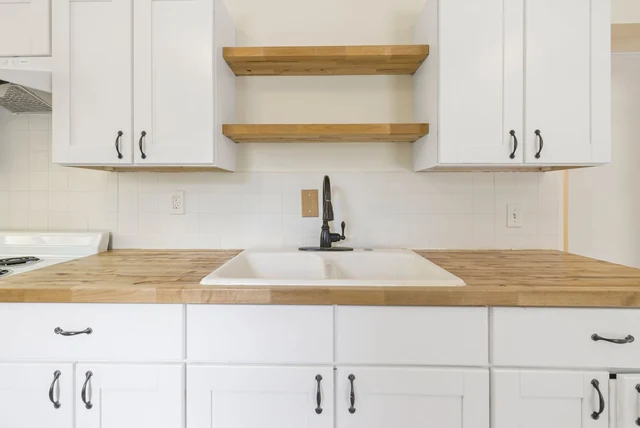

Somebody I know spent a small fortune on oak worktops, oiled them faithfully every few months, and still had to replace the run beside the sink within three years. The oiling was not the problem. The problem was a cut edge nobody sealed and four screws driven straight through the cabinet into the wood. That is the uncomfortable truth about solid wood worktops UK kitchens are full of: the oil gets all the attention, and the things that actually destroy them happen on the day they are fitted.
| When to re-oil | When water stops beading. Test it, do not count months |
| Typical schedule | Weekly for the first six weeks, then at least every three months |
| Between coats | Allow 6-8 hours, and wipe off surplus oil after 30 minutes |
| Expansion gap | 4-5mm to walls and units; 30mm minimum beside a range cooker |
| Fixing | Slotted brackets only, so the wood can move. Never fixing blocks |
| Cut edges | Oil every cut edge as soon as the cut-out is made |
| Cleaning | Warm water and soap. No multipurpose or chemical cleaners |
Forget the Calendar, Use the Water Test
Forget the Calendar, Use the Water Test
Image source: pexels.com
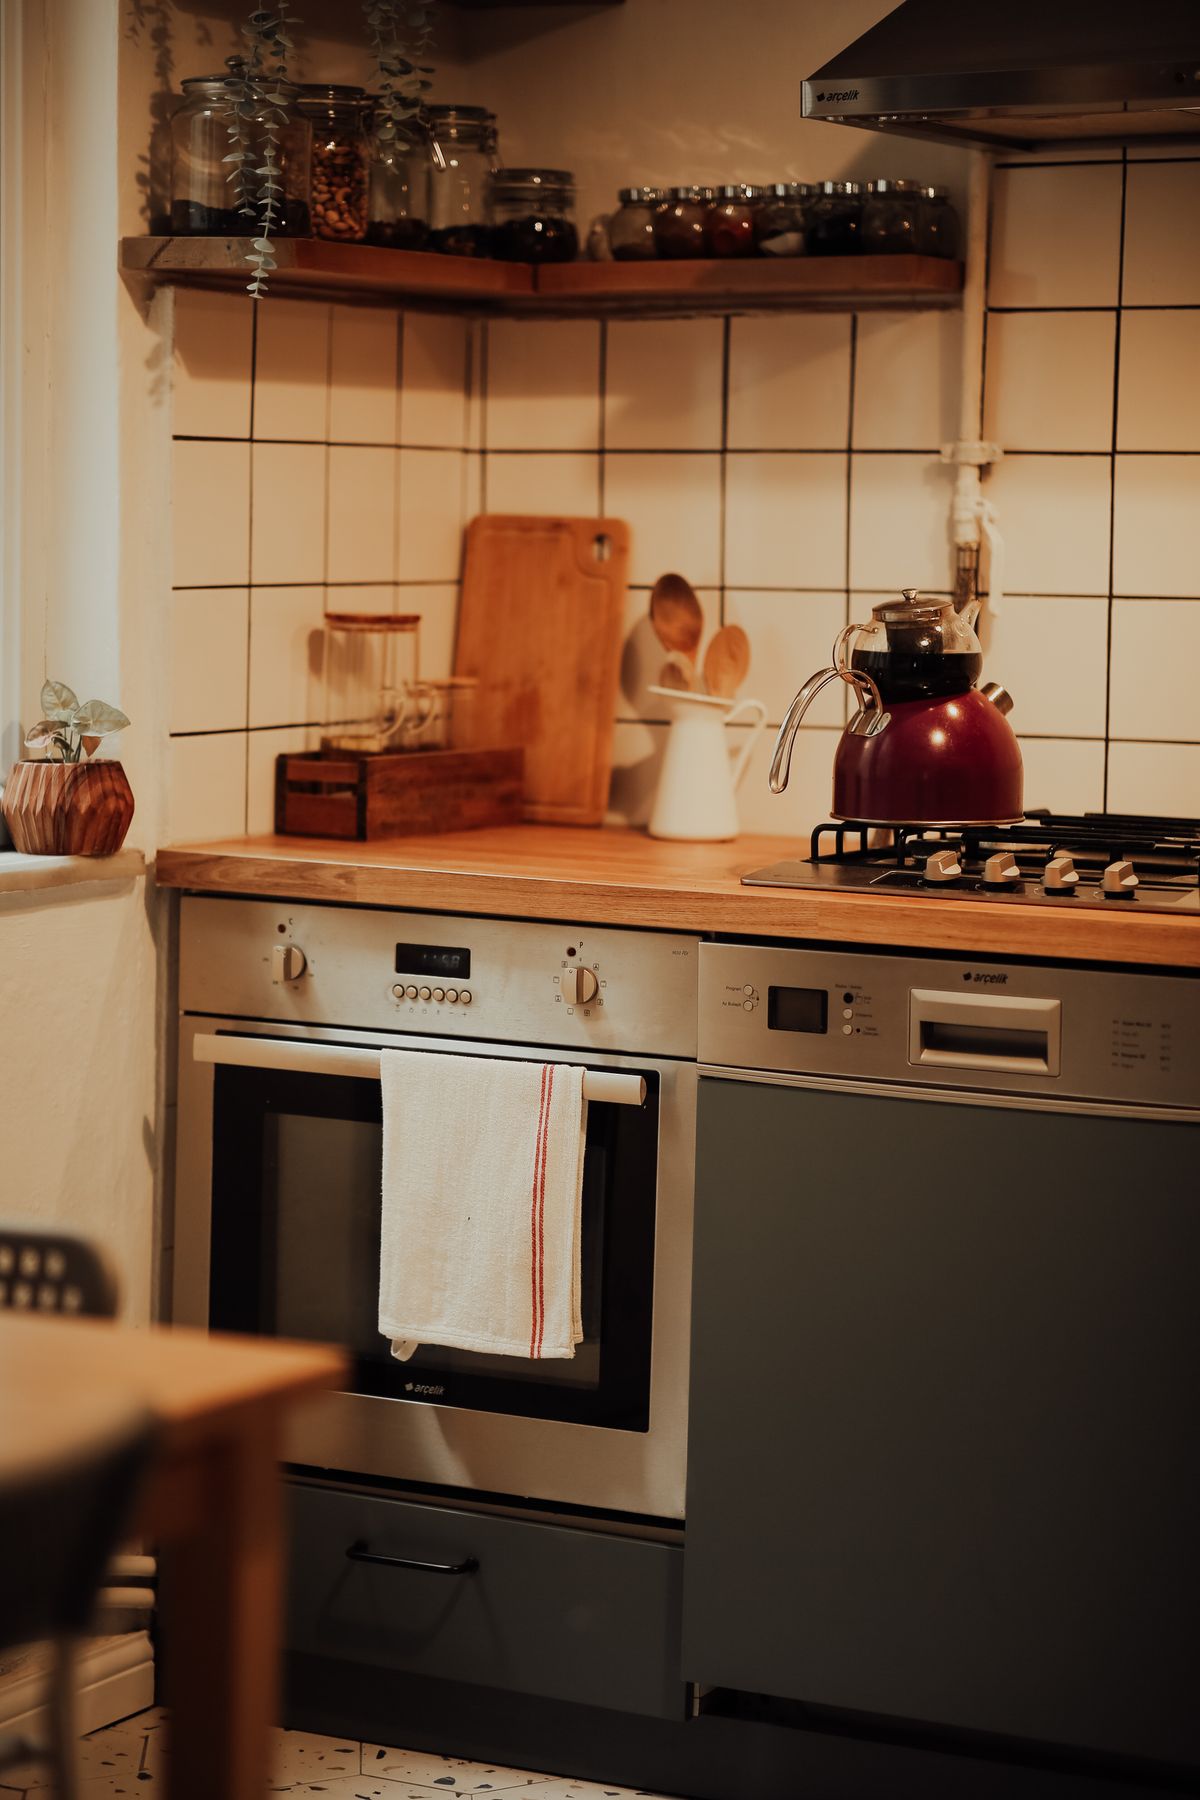
Every guide gives a different oiling schedule, which tells you the schedule is not really the answer. The test is. Put a single drop of water on the worktop and watch it. If it sits up in a tight bead, the finish is intact and you can leave it alone. If it flattens out or starts soaking into the grain, the protection has gone and the wood is drinking. A well-oiled worktop has a slight sheen and beads water; when it stops doing that, it is already overdue. Test the area beside the sink and the bit in front of the hob, because those wear first and the rest of the run will look fine long after they have given up.
What a Sensible Oiling Routine Looks Like
What a Sensible Oiling Routine Looks Like
Image source: pexels.com
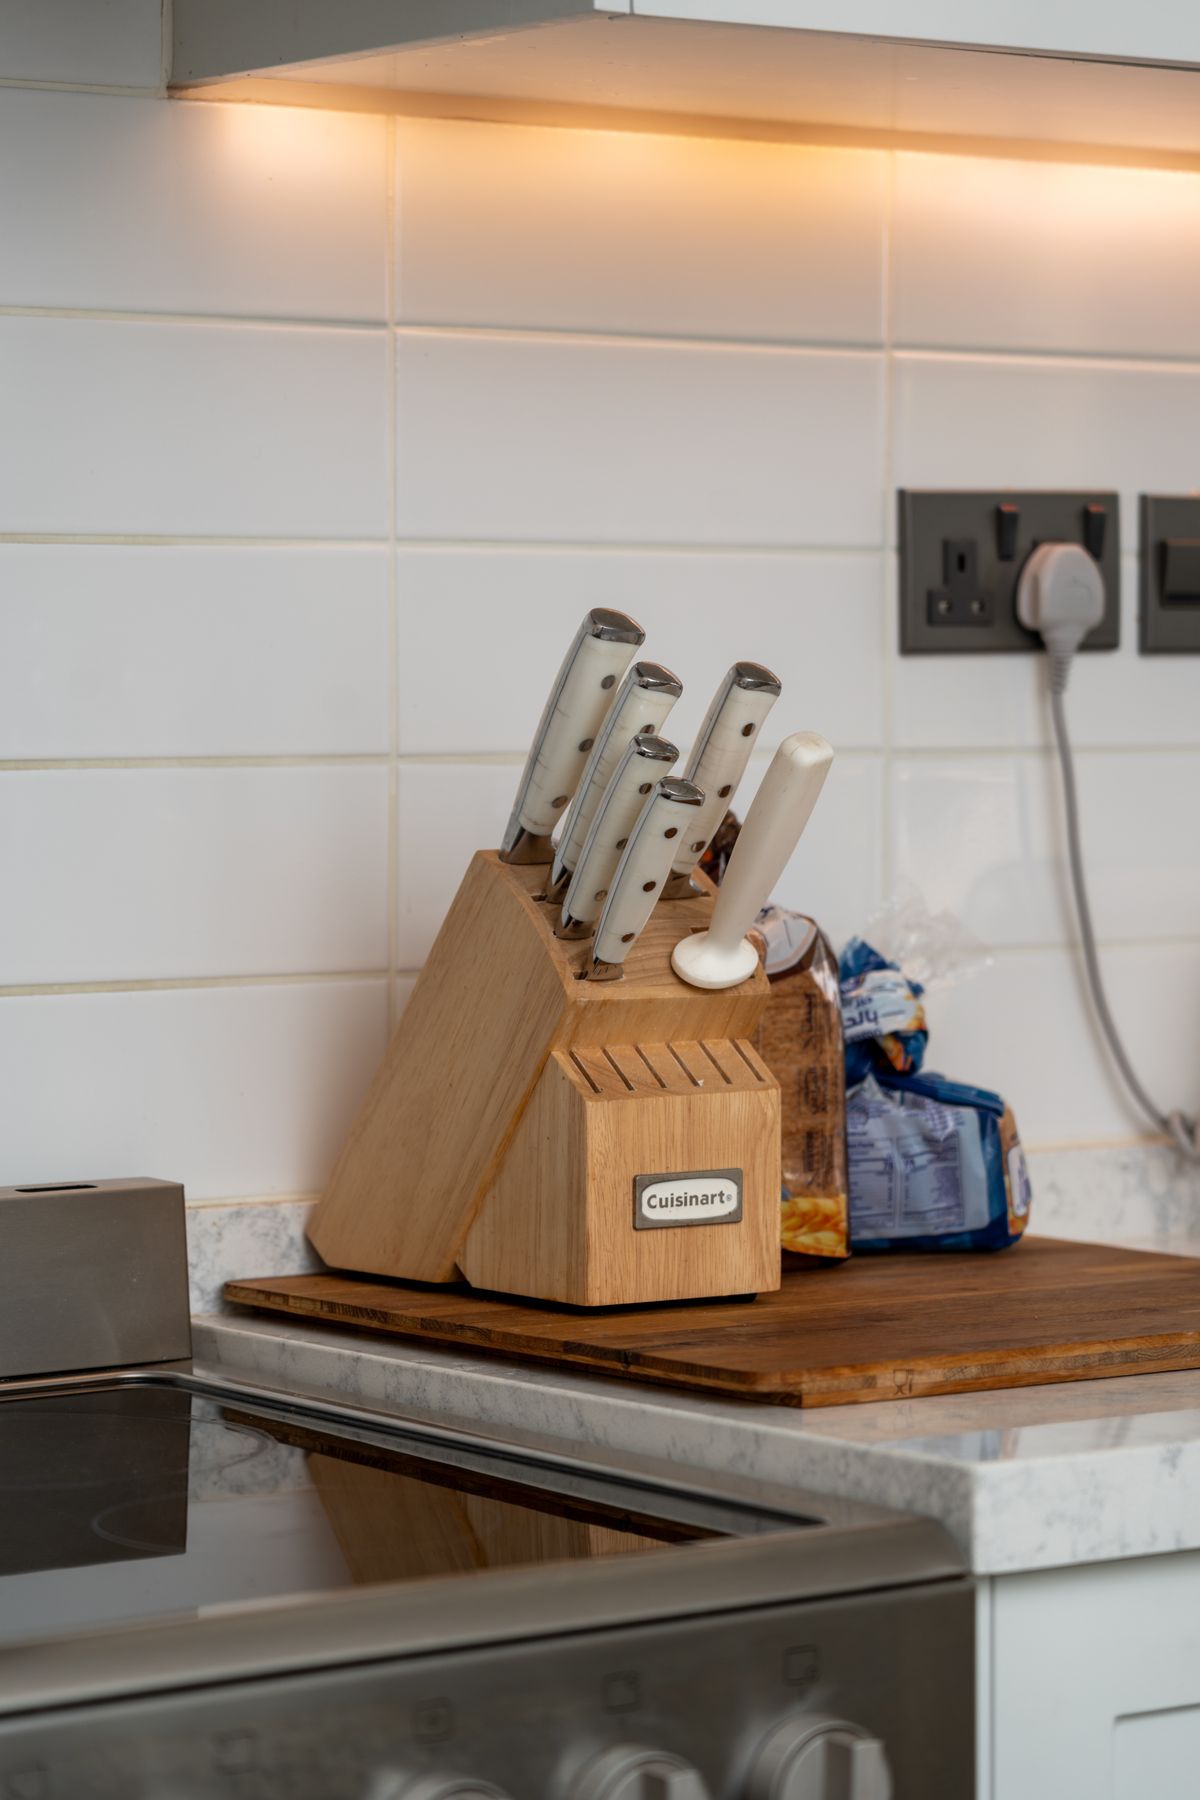
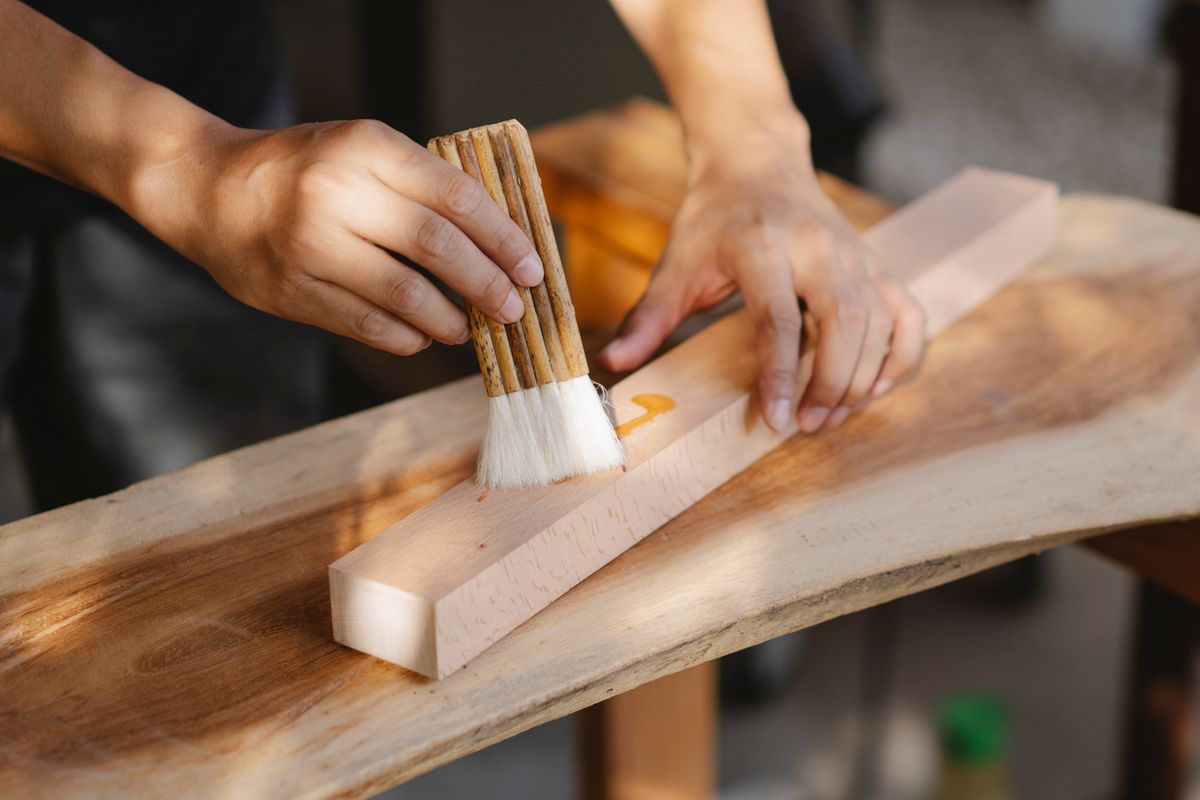
With that said, new wood does need a proper start, because protection takes time to build up. Typical supplier guidance is to oil once a week for the first six weeks, then at least once every three months after that. Some suppliers suggest monthly through the first year instead, which amounts to the same thing: be generous early, then settle down. Two practical details matter more than the interval. Allow six to eight hours between coats so each one actually cures, and wipe away any surplus oil about thirty minutes after applying it, because oil left sitting on the surface goes sticky rather than soaking in.
Which Oil, and the Honest Trade-Off
Danish oil is the traditional choice and it is what most supplier instructions name. It is easy to apply, forgiving of mistakes, and gives that warm, slightly golden look people buy wood for in the first place. What it is not is the toughest option. Modern hardwax oils are noticeably more water-resistant and durable, which matters in a busy family kitchen, at the cost of a slightly less traditional finish and a bit more care during application. Danish oil suits a quieter kitchen and needs doing more often. Whichever you pick, stay with it, because mixing finishes is how you end up sanding the whole thing back.
The Cut Edges Are Where Worktops Die

The Cut Edges Are Where Worktops Die
Image source: pexels.com
This is the single most important paragraph here. When someone cuts a hole for the sink or the hob, that cut exposes raw end grain, which absorbs water dramatically faster than the polished face you see. Supplier instructions are blunt about it: as soon as the cut-outs are made, treat every cut edge with a generous amount of oil, and expect those edges to drink far more than the rest. If they are left bare, water wicks along the grain, travels sideways into the worktop, and the timber swells and stains from the inside. By the time it shows on the surface it is usually too late. This is exactly the failure that kills laminate worktops too, for the same reason.
Wood Moves, So It Cannot Be Screwed Down Hard
Wood Moves, So It Cannot Be Screwed Down Hard
Image source: pexels.com
Here is the fitting mistake that splits worktops, and almost no care guide mentions it. Timber expands and contracts with the moisture in your kitchen, all year, forever. If it is bolted rigidly to the cabinets it cannot move, so it cracks instead. Supplier instructions say to use slotted angle brackets only, with the slot running across the grain, and to avoid unslotted brackets entirely even if the cabinets came with them. Where a cabinet has a solid top, the method is an oversized hole of eight to ten millimetres with a large washer and screw, so the worktop can slide. Screwing straight through into the wood, or using fixing blocks, is specifically ruled out.
Leave It Room to Breathe
Leave It Room to Breathe
Image source: pexels.com
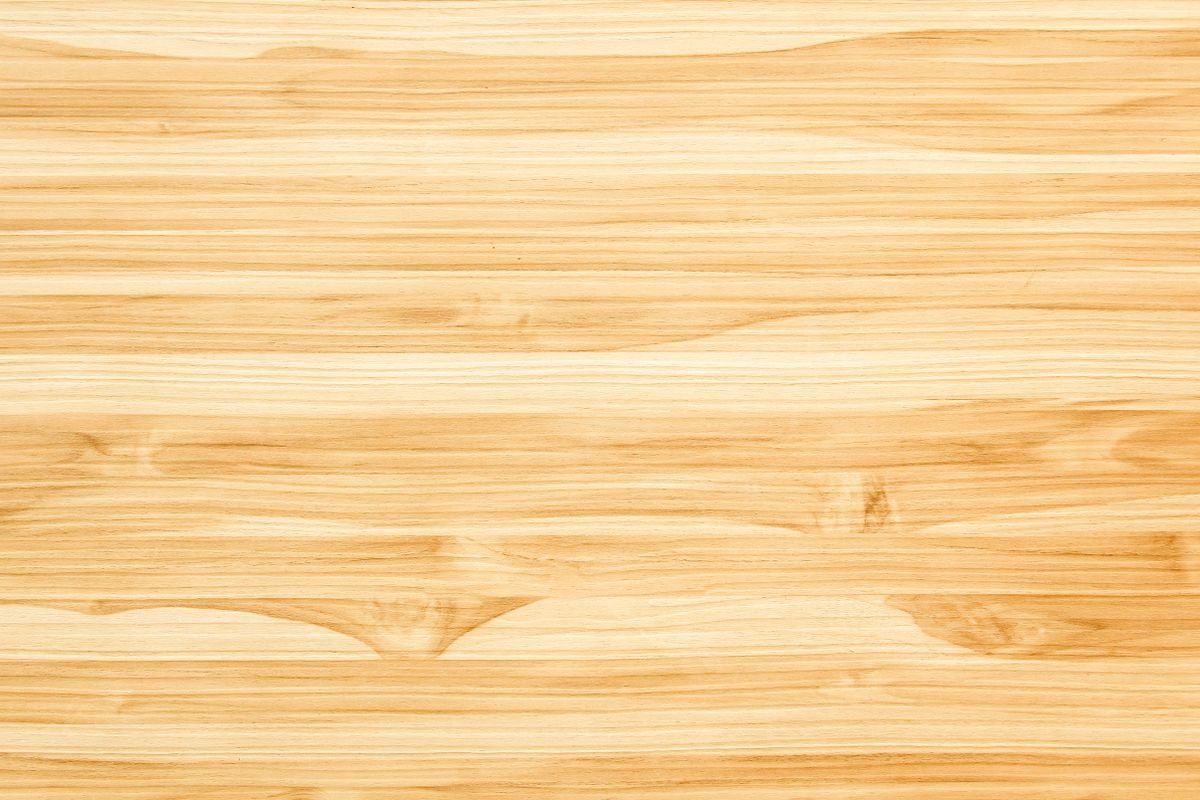
The same logic applies at the edges. Typical guidance is a four to five millimetre gap between the worktop and every adjacent wall or unit, especially the wall, so the timber has somewhere to go when it swells. Next to a freestanding range cooker the figure jumps to a minimum of thirty millimetres, because sustained heat attacks the end grain. A moisture barrier is also recommended if an appliance sits underneath the worktop or if it is being fixed onto exposed brickwork. None of this is visible once the kitchen is finished, which is precisely why it gets skipped by people in a hurry.
Standing Water Is Worse Than Spills
A spill wiped up straight away does no harm at all. Water left to pool is a different matter, and it is the everyday habit that quietly ruins the area around the sink. Supplier advice is simply not to let liquids stand on the surface, and to wipe anything up immediately with a clean dry cloth. In practice that means drying around the sink at the end of the day, not leaving a wet washing-up bowl or draining board sitting on the timber, and dealing with the drips behind the tap that nobody ever looks at. A silicone seal in good condition around the sink rim does most of the rest, so check it once a year.
Heat, Metal and the Chopping Board Rule
Heat, Metal and the Chopping Board Rule
Image source: pexels.com
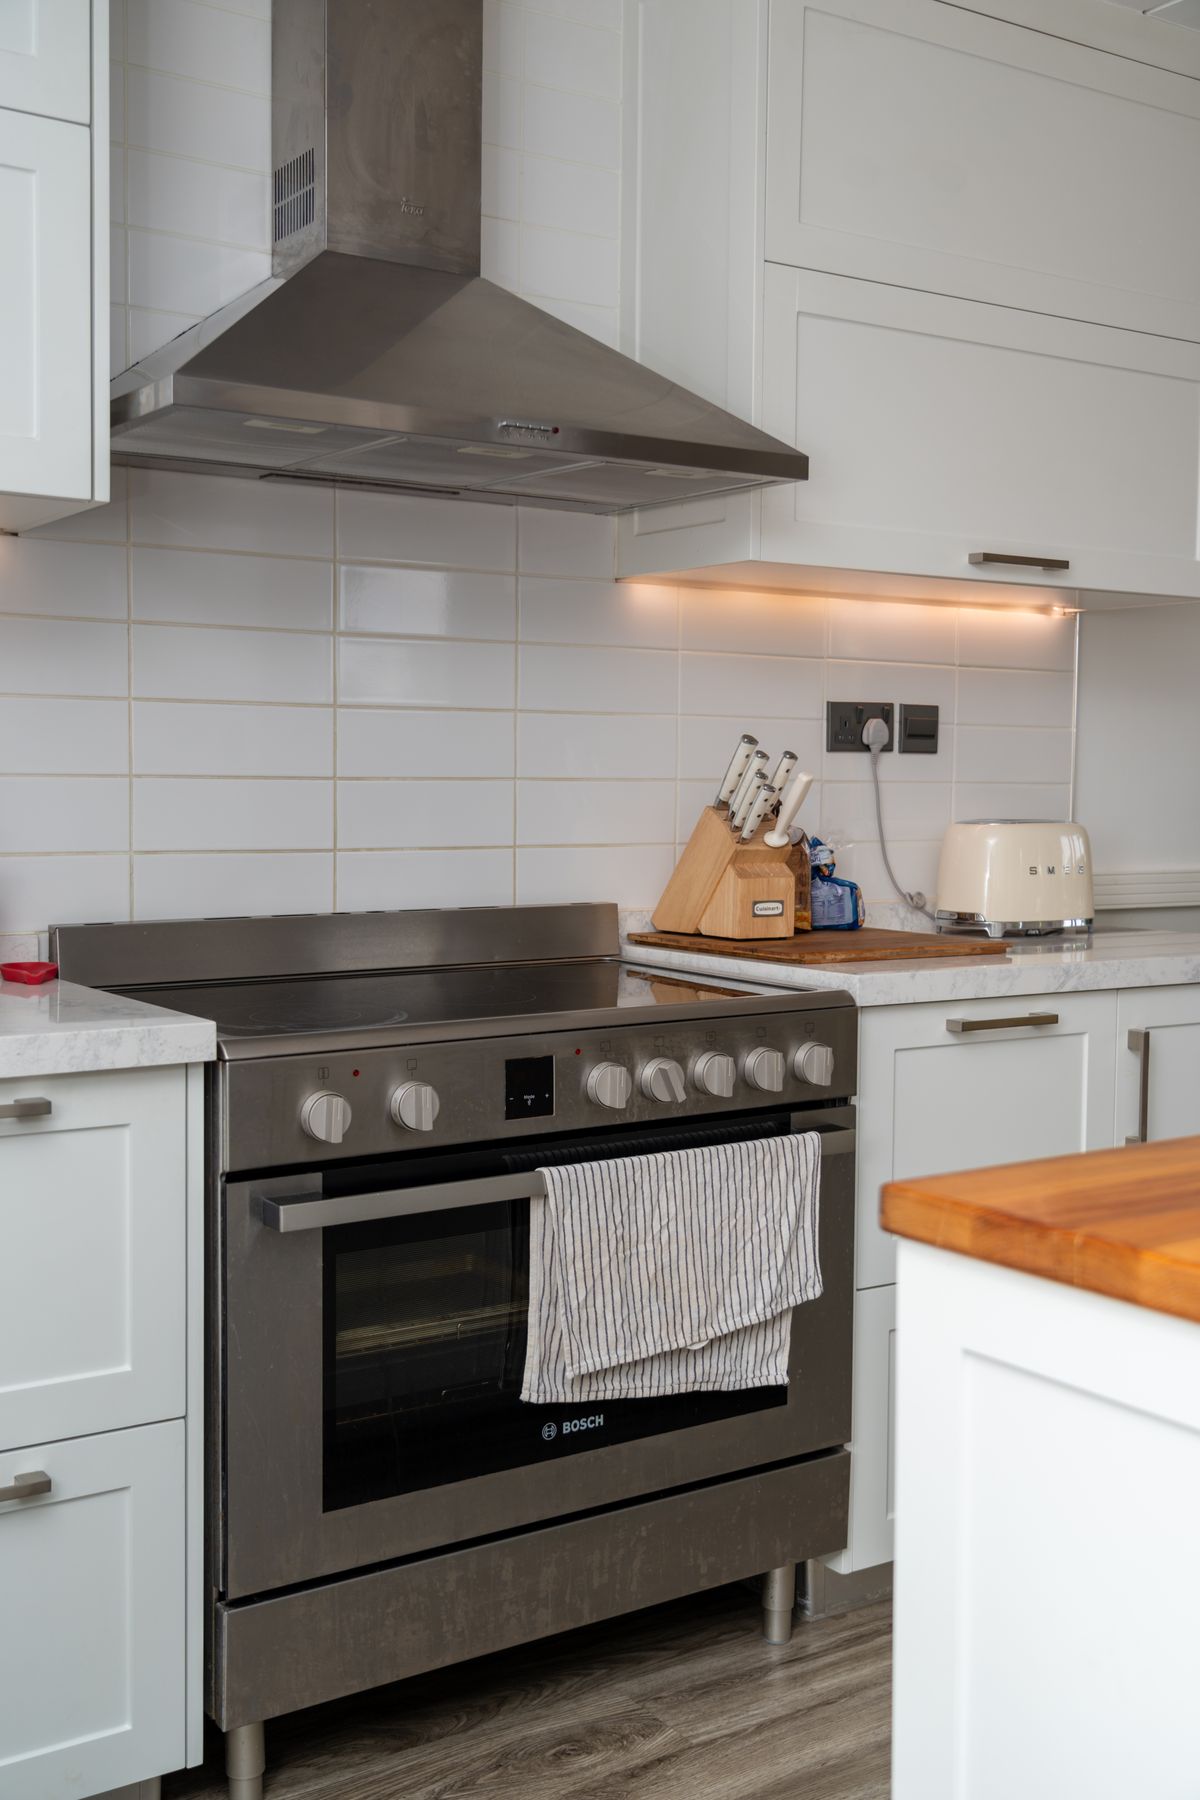
Wooden worktops need physical protection in ways stone does not. Hot pans go on stainless steel hotrods or a trivet, never straight onto the timber. Less obviously, most metal vessels can stain wood on contact, including aluminium cans, iron, copper and steel containers, so a damp tin left on the surface overnight leaves a mark. Anything hot, wet or dirty belongs on something else. And use a chopping board, every time, because cutting directly on the worktop scores through the finish and lets water straight into the grain. That is the same discipline quartz and granite ask for, just with higher stakes.
Cleaning Without Stripping the Finish
The routine is deliberately dull: a lint-free cloth, a little warm water and a small amount of soap. Warm, not hot. What supplier instructions specifically rule out is multipurpose cleaners and anything else containing chemicals, because those strip the oil and damage the timber underneath. Scouring pads are out for the same reason, and if one does get used in a moment of frustration, expect to re-oil that patch afterwards. Antibacterial sprays are the most common offender in real kitchens, because they feel like the responsible choice. On an oiled wooden worktop they are the opposite. The same restraint applies to the fittings sitting on the timber: descalers and limescale removers are acidic, and the splashes that miss the tap land on the worktop.
Fixing Marks Without Replacing Anything
The best thing about a solid wood worktop is that almost everything is repairable, which is not true of laminate or quartz. A dark water ring, a light scorch, a knife score or a stain will usually sand out, because you are removing a fraction of a millimetre from a solid piece of timber rather than damaging a surface layer. Work along the grain with a fine abrasive, feather the edges into the surrounding area so there is no visible patch, then re-oil the whole section rather than just the repair. Deeper damage needs coarser paper first. A worktop that looks tired can usually be brought back in an afternoon.
The Warranty Detail Worth Reading
One line in the supplier instructions deserves more attention than it gets: failure to follow the installation and aftercare instructions voids the product warranty. That turns all of the above from good advice into a condition of your cover. It also means the instructions that came with your particular worktop beat anything you read online, including this article, because the figures vary slightly between suppliers and timbers. Keep the paperwork. If a fitter is doing the work, ask directly whether they are sealing the cut edges and using slotted brackets, and get the answer before they start rather than after.
Is a Wooden Worktop Right for You?
Be honest about the household. Wood suits people who do not mind a surface that needs occasional attention and who like that it ages and can be repaired. It does not suit a kitchen where hot pans land wherever there is space and puddles sit until somebody notices. If that sounds like yours, look at quartz or granite instead and spend the effort somewhere else. If you do choose wood, clear worktops make the care far easier, so decent kitchen storage is part of the maintenance plan rather than separate from it. Get that balance right and wood repays the attention in a way no manufactured surface does, because it is the only worktop that genuinely looks better after ten years than it did on the day it was fitted.
Final Thoughts
Oiling is the part everyone worries about and the part that is hardest to get wrong. Test with a drop of water rather than counting months, and the schedule looks after itself. The things that actually destroy solid wood worktops are quieter: a cut edge nobody sealed, screws that stopped the timber moving, and water left standing overnight. Sort those three out and a wooden worktop will outlive the kitchen around it, and look better every year.
Frequently Asked Questions
How often should you oil a wooden worktop?
Weekly for the first six weeks, then at least every three months. Better still, re-oil whenever water stops beading on the surface.
How do you know when a wooden worktop needs oiling?
Drop water on it. If it beads and sits up, the finish is fine. If it flattens or soaks in, the worktop needs re-oiling.
Do you have to seal a wooden worktop around the sink?
Yes. Cut edges expose raw end grain that absorbs water fast. Oil every cut edge as soon as the cut-out is made, and expect it to need extra coats.
Can you put hot pans on a wooden worktop?
No. Use hotrods or a trivet. Metal vessels including aluminium, copper and steel can also stain the timber if left in contact.
What should you not clean a wooden worktop with?
Multipurpose sprays, chemical cleaners and scouring pads. They strip the oil. Warm water with a little soap and a lint-free cloth is enough.
Can you sand out marks on a wooden worktop?
Yes, and that is wood’s advantage. Sand along the grain, feather the edges into the surrounding surface, then re-oil the whole section.
Disclaimer
This article is for general information only. Figures quoted are typical supplier guidance and vary between manufacturers, timbers and finishes. Always follow the installation and aftercare instructions supplied with your own worktop, as not doing so can void the product warranty.